How the wardrobe was created. Part five: finishing with paints and varnishes.
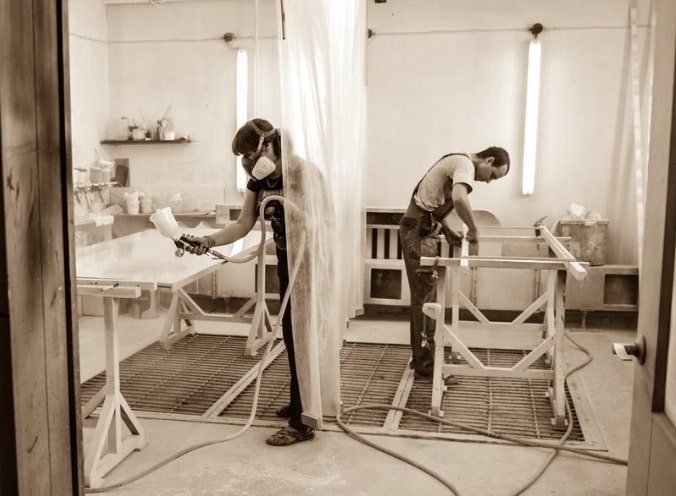
The technology of painting and varnishing depends on many things, first of all, on the type of wood, on whether we ultimately need a surface with closed pores or open-porous, what color and tone we want to achieve in the end. This is how the product looks at the stage of dry assembly - even before tinting and varnishing. First, the product is assembled, as it were, “in draft”, then all its components are disassembled and processed. And then again they collect it “at the finish”.
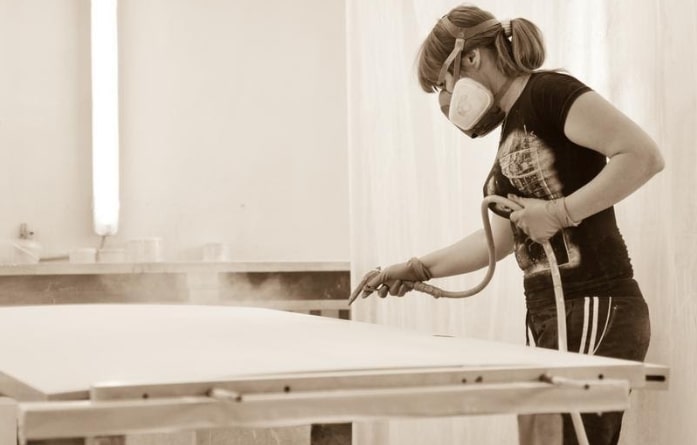
When working with exotic wood, it is very important to consider how high the resin content in this species. Especially resinous is wood of teak, conifers, rosewood (such as, for example, cocobolo, Brazilian tulip tree, sissu, Amazonian rosewood). Before starting work (before the primer), such wood must be further tarred - otherwise resinous substances will interfere with the adhesion (adhesion) of the finishing coatings. To do this, use solvents or compositions that wash the resin. “Mistress to the note”: if oil paints are used, no tarring is necessary. All the same, they “stick” perfectly, thanks to the uniformity of the resins of wood and drying oil, on the basis of which these paints are made. You can say - they lie down as relatives. But, since in the story with the cabinet we worked with low-resinous wood, American walnut, we did not need this stage. In general, de-tarring is a curious topic and it is worth discussing it in more detail somehow. As for the surface texture - we wanted to leave it open-porous, in this case four successive operations were required: 1. Primer - preparation, coating with a layer of soil. In the photo - preparation for the primer: parts are blown with air so that dust particles do not fall on them What type of primer to use depends, first of all, on what varnish you are going to cover your product with. Therefore, in this part we will talk immediately about both of them. Types of varnishes and primers under them We’ll clarify right away: there are traditional, still “grandfather's” inexpensive primers that are used for some simple types of wood like pine. The main ones are rosin (for idyllic varnish), drying oil (for oil), nitro primer (for nitro-varnishes) and casein-rosin paste (for oil and alcohol varnishes for large-porous wood species). We do not use any of this in our work. And in principle, under industrial conditions, practically all of these materials are no longer used. There is also the so-called varnish UF-curing (also called shellac or gel polish). This is a very modern technology, such a varnish “bakes” with UF lamps, dries extremely quickly, holds well and looks good (if among our readers there are fans of shellac manicure - then everything is about the same, only on an industrial scale :)


We use two types of varnish:
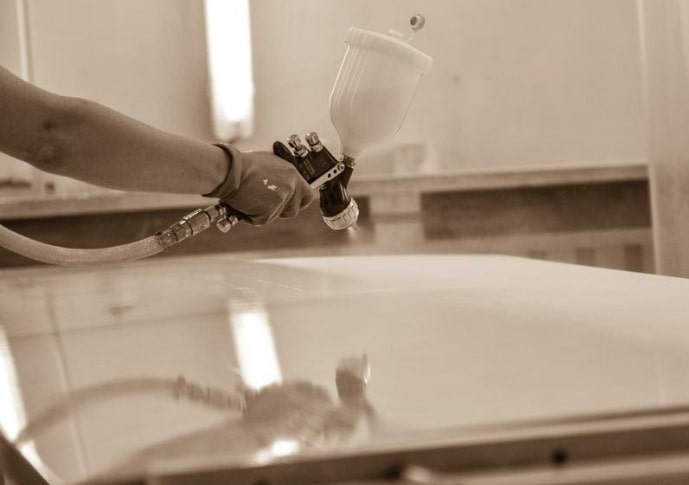
polyurethane (we use it, perhaps in 9 out of 10 cases) - it not only beautifully emphasizes the texture of the wood, but also creates a wear-resistant and durable coating. It survives sharp temperature fluctuations, light and vibration resistant; Protects from moisture, weathering, mold and mildew. Finally, it dries much faster and smells much less than all the varnishes of the previous generation. acrylic (aka polyacrylate) - is used mainly for outdoor work, as it protects materials from weathering; gives the wood the desired shade and emphasizes its texture. It dries quickly, does not crack, practically does not smell, creates an even, slightly shiny film on the surface of the wood. The American walnut cabinet was covered with a two-component polyurethane varnish (the so-called DD-varnish); accordingly, a polyurethane primer was also used.
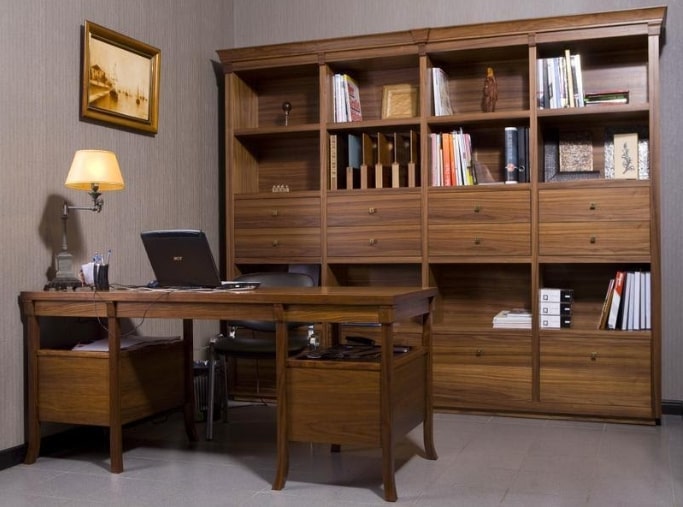
2. Toning of wood: coating with a layer of pigment to give a particular shade. Wood is tinted either before or after the primer, and in some cases (as, for example, in ours) - before and after. In the story in question, we used two-stage tinting also because some elements of the cabinet are made of ash, the breed is slightly lighter than walnut. And first, we had to give the ash details the same tone as the walnut. This was done before the priming. And after it, all the elements were given the final desired tone. By the way, if you tint just before the primer, the color is not homogeneous enough. As we once told (for example, in this material), American walnut is self-sufficient wood with a noble texture and color. Many other types of wood are tinted with nut, but tinting a nut “for something” does not occur to anyone, probably. But just as a beautiful woman becomes even more beautiful thanks to a good make-up, the correct toning makes the noble wood even more elegant, even deeper, richer. We really enjoy playing with tinting, try different options. But for comparison - our other walnut cabinet: there is no tint here, we have preserved the natural shade of color. In addition, the direction of the veneer is different: the fibers are arranged horizontally, while the previous cabinet has a vertical stack, which makes it seem like completely different wood at first glance and there is nothing in common between the two objects.